Router Table Burning Wood? 5 Common Causes and Easy Fixes
Noticed dark burn marks after using your router table? You're not alone. This can happen when your router bit gets too hot, leaving unwanted marks on your wood.
Common causes include a dull router bit, slow feed speed, or cutting too deep in one pass.
Quick Answer: To prevent router burns, use a clean, sharp bit, keep the wood moving at a steady speed, set the right RPM, and make lighter cuts.
In this guide, we'll cover 5 common causes of router table burning and simple fixes to help you get cleaner cuts.

Why Does a Router Table Burn Wood?
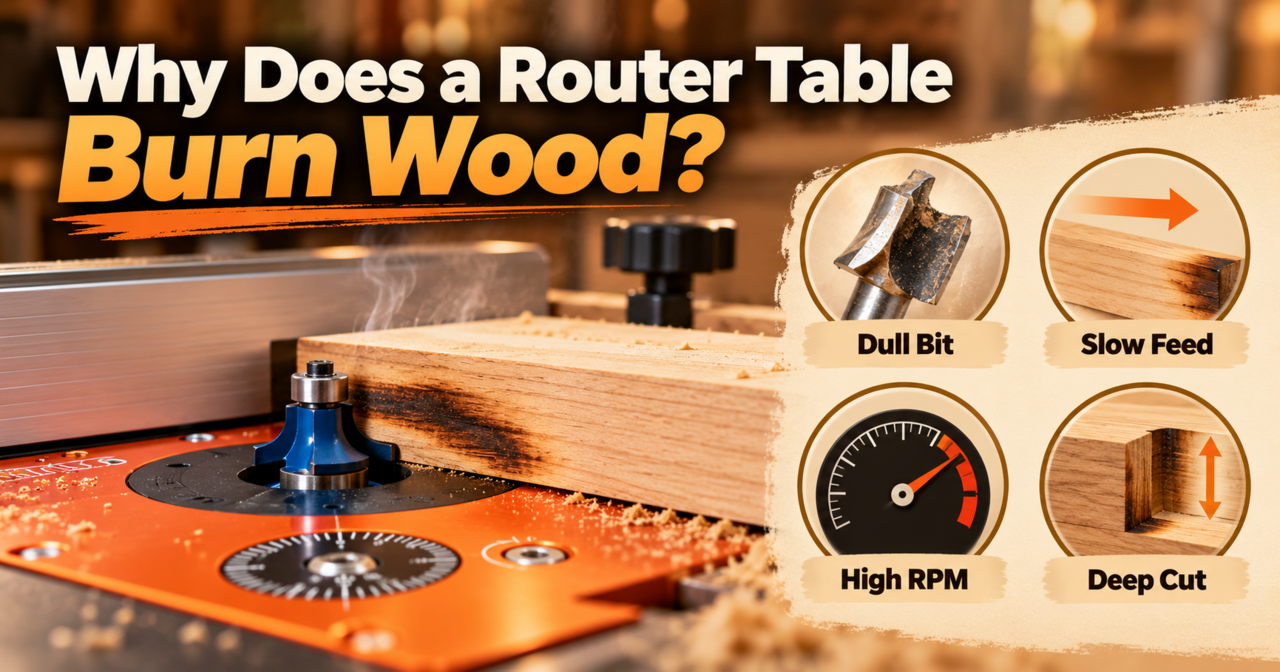
A router table burns wood when too much heat builds up between the router bit and the wood. This often happens when the bit is dull, the wood moves too slowly, or the cutting setup isn't right.
Hardwoods like maple and cherry can be more likely to show burn marks.
Common signs include dark edges, a burning smell, and rough cuts.
The good news? Most router burn marks can be prevented with a few simple changes.
5 Common Causes of Router Table Burn Marks and How to Fix Them
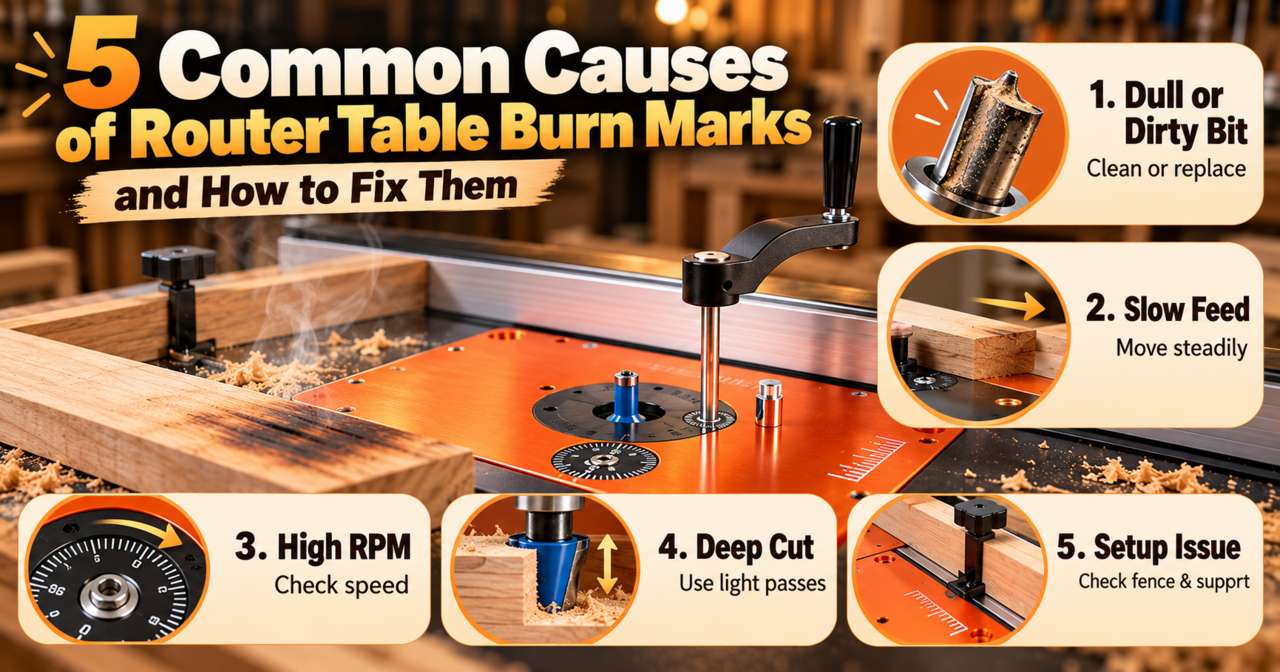
1. Your Router Bit Is Dull or Dirty
A dull or dirty router bit creates more friction, which can lead to wood burning. Resin and dust buildup also make it harder for the bit to cut cleanly.
How to fix it:
- Unplug the router and remove the bit.
- Check for resin, dirt, or damaged cutting edges.
- Clean the bit with a suitable router bit cleaner.
- Replace or professionally sharpen dull bits.
Quick Tip: Check your router bits regularly. A clean, sharp bit helps reduce heat and produces smoother cuts.
2. You're Moving the Wood Too Slowly
When wood moves too slowly past a spinning router bit, heat builds up in one spot. Stopping during a cut can also leave dark burn marks.
How to fix it:
- Feed the wood at a steady, controlled speed.
- Avoid stopping in the middle of a cut.
- Use push blocks or featherboards when needed.
- Practice your feed speed on scrap wood.
Quick Tip: Don't rush or force the wood. Find a steady pace that lets the bit cut smoothly.
3. Your Router Speed Is Too High
Router speed, or RPM (revolutions per minute), affects how the bit cuts wood.
If the speed is too high for your bit and material, extra heat may cause burn marks. Larger bits usually require lower RPM than smaller ones.
How to fix it:
- Check the router bit's recommended RPM range.
- Set your router speed based on the manufacturer's instructions.
- Never exceed the bit's maximum rated speed.
- Make a test cut before starting your project.
Quick Tip: Lower RPM isn't always better. The right speed depends on your bit size, wood, and cutting setup.
4. You're Cutting Too Deep in One Pass
Trying to remove too much wood at once puts extra pressure on your router and bit. This can increase heat, make cuts harder to control, and leave burned edges.
How to fix it:
- Start with a shallow cut.
- Make a test pass and check the result.
- Turn off the router and wait for the bit to stop.
- Adjust the cutting height and make another light pass.
Repeat as needed until you reach the right depth.
Why a Router Lift Helps: A router lift system makes it easier to adjust bit height from above the table between passes, helping you control cutting depth.
5. Your Router Table Setup Needs Adjustment
A loose fence, uneven insert plate, or poor wood support can affect your cuts. If the wood moves unevenly, the bit may leave rough edges or burn marks.
How to fix it:
- Check the fence: Make sure it's straight and secure.
- Support the wood: Use proper guards, push blocks, and featherboards.
- Check the insert plate: Keep it level with the router table.
- Feed in the right direction: Move the wood against the bit's rotation.
- Test your setup: Make a cut on scrap wood first.
Quick Tip: A stable router table setup helps you make smoother, more consistent cuts.
Avoid climb cutting, where the wood moves with the bit's rotation. It can cause a dangerous loss of control.
How to Remove Router Burn Marks From Wood
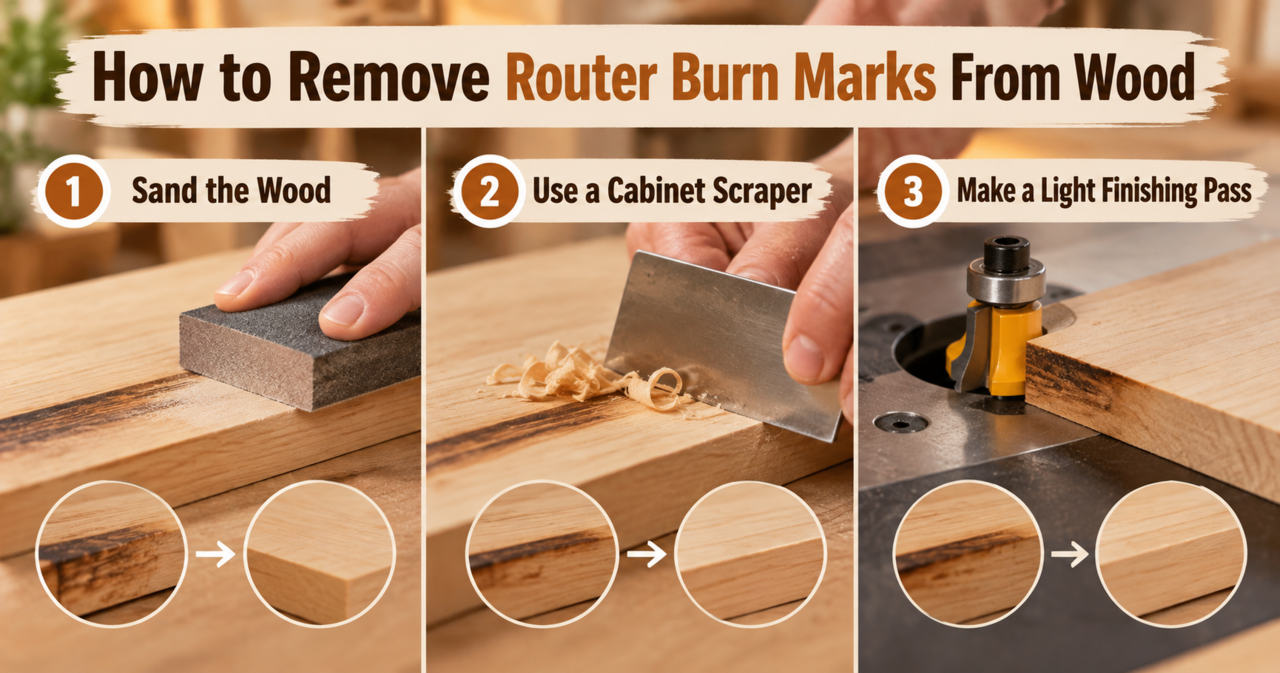
Already have burn marks? You may be able to remove them without starting over.
3 Easy Ways to Remove Router Burn Marks
1. Sand the Wood
Use sandpaper to remove light burn marks. Sand with the grain and finish with a finer grit for a smooth surface.
2. Use a Cabinet Scraper
A sharp cabinet scraper can remove shallow burn marks from suitable flat surfaces without heavy sanding.
3. Make a Light Finishing Pass
If your project allows it, use a sharp router bit to remove a thin layer of wood. Test the cut on scrap wood first.
Important: Deep burns may require removing too much material. Check your project dimensions before making another cut.
How to Prevent Router Burn Marks on Your Next Project
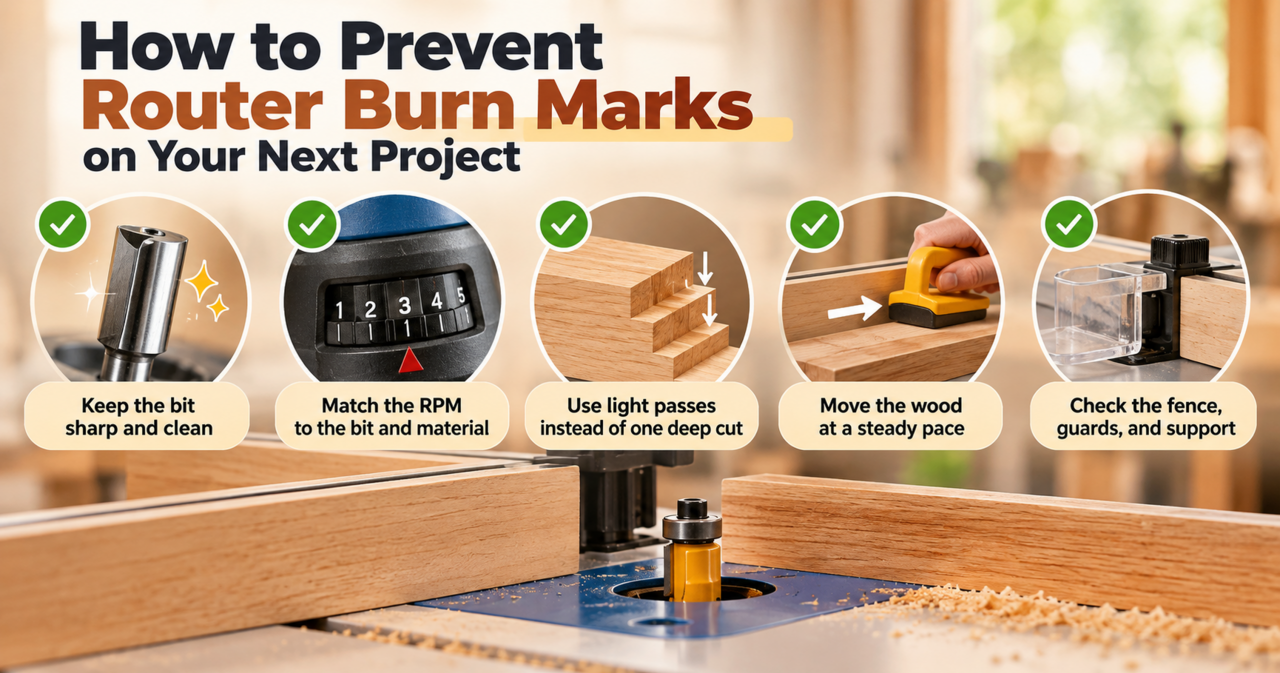
Before using your router table, follow this simple checklist:
- Router Bit: Keep it sharp and clean.
- Router Speed: Match RPM to the bit and material.
- Cutting Depth: Use light passes instead of one deep cut.
- Feed Speed: Move the wood at a steady pace.
- Router Table Setup: Check the fence, guards, and wood support.
Always follow the manufacturer's instructions. Turn off the router and let the bit stop completely before making adjustments. Unplug it before changing bits, cleaning, or servicing the equipment.
If you notice smoke or unusual resistance, stop cutting and check the setup before continuing.
Better cuts start with the right setup. A few small changes can help prevent burns, reduce rework, and save time on your next woodworking project.
Can a Router Lift System Help Reduce Router Burn Marks?

A router lift system can help reduce the risk of burn marks by making cutting depth easier to adjust. However, it won't prevent burning on its own.
When working with deep grooves or edge profiles, making several light passes can help reduce heat and keep cuts under control.
A router lift lets you adjust bit height from above the table, making it easier to:
- Set the depth for each pass.
- Make small changes between test cuts.
- Keep bit-height settings consistent for repeated cuts.
Always stop the router and wait for the bit to stop before making adjustments.
O'SKOOL RTS05 Router Lift System
The O'SKOOL RTS05 offers above-table height adjustment for compatible 3-1/2" router motors. Its hand crank allows small height changes, making it useful for projects that need multiple passes.
Before choosing a router lift, check your motor size and router table compatibility.
For more details, explore the O'SKOOL RTS05 Router Lift System.
Get Cleaner Router Table Cuts With the Right Setup
Router burn marks don't always mean you need new tools. A clean bit, steady feed speed, and proper cutting depth can make a big difference.
Start with small changes, test your cuts, and find what works best for your projects.
Better cuts start with better control.
Looking to make bit-height adjustments easier? Learn more about the O'SKOOL RTS05 Router Lift System.
Router Table Burning Wood FAQs
Q1: Why does my router table leave black burn marks on wood?
Router burn marks happen when too much heat builds up during cutting. Common causes include dull bits, slow feed speed, incorrect RPM, and cutting too deep.
Q2: What router speed helps prevent wood burning?
Use the RPM recommended for your router bit size and material. Never exceed the bit's maximum speed, and test your settings on scrap wood.
Q3: Can a router lift system prevent wood burning?
Not completely. A router lift makes it easier to adjust cutting depth for lighter passes, but sharp bits, proper speed, and steady feeding are still important.

